How I Light Maiko and Geisha, Part 1

When I posted about Kohana and Kagami Mochi , one reader commented, “I really enjoy reading about your light settings. Maybe sometime you could post a picture?”
Well, here are several pictures, but most feature me, not Kohana! The first ten to twenty images I make at every photo session are of me or the background as I build my lighting step-by-step.
Today I’m posting photos of every step in the process, and I’ll explain my thinking behind each one. You’ll learn how I go from the image of me (one light) to the image of Kohana (four lights).
How do I get there? Read on to find out!

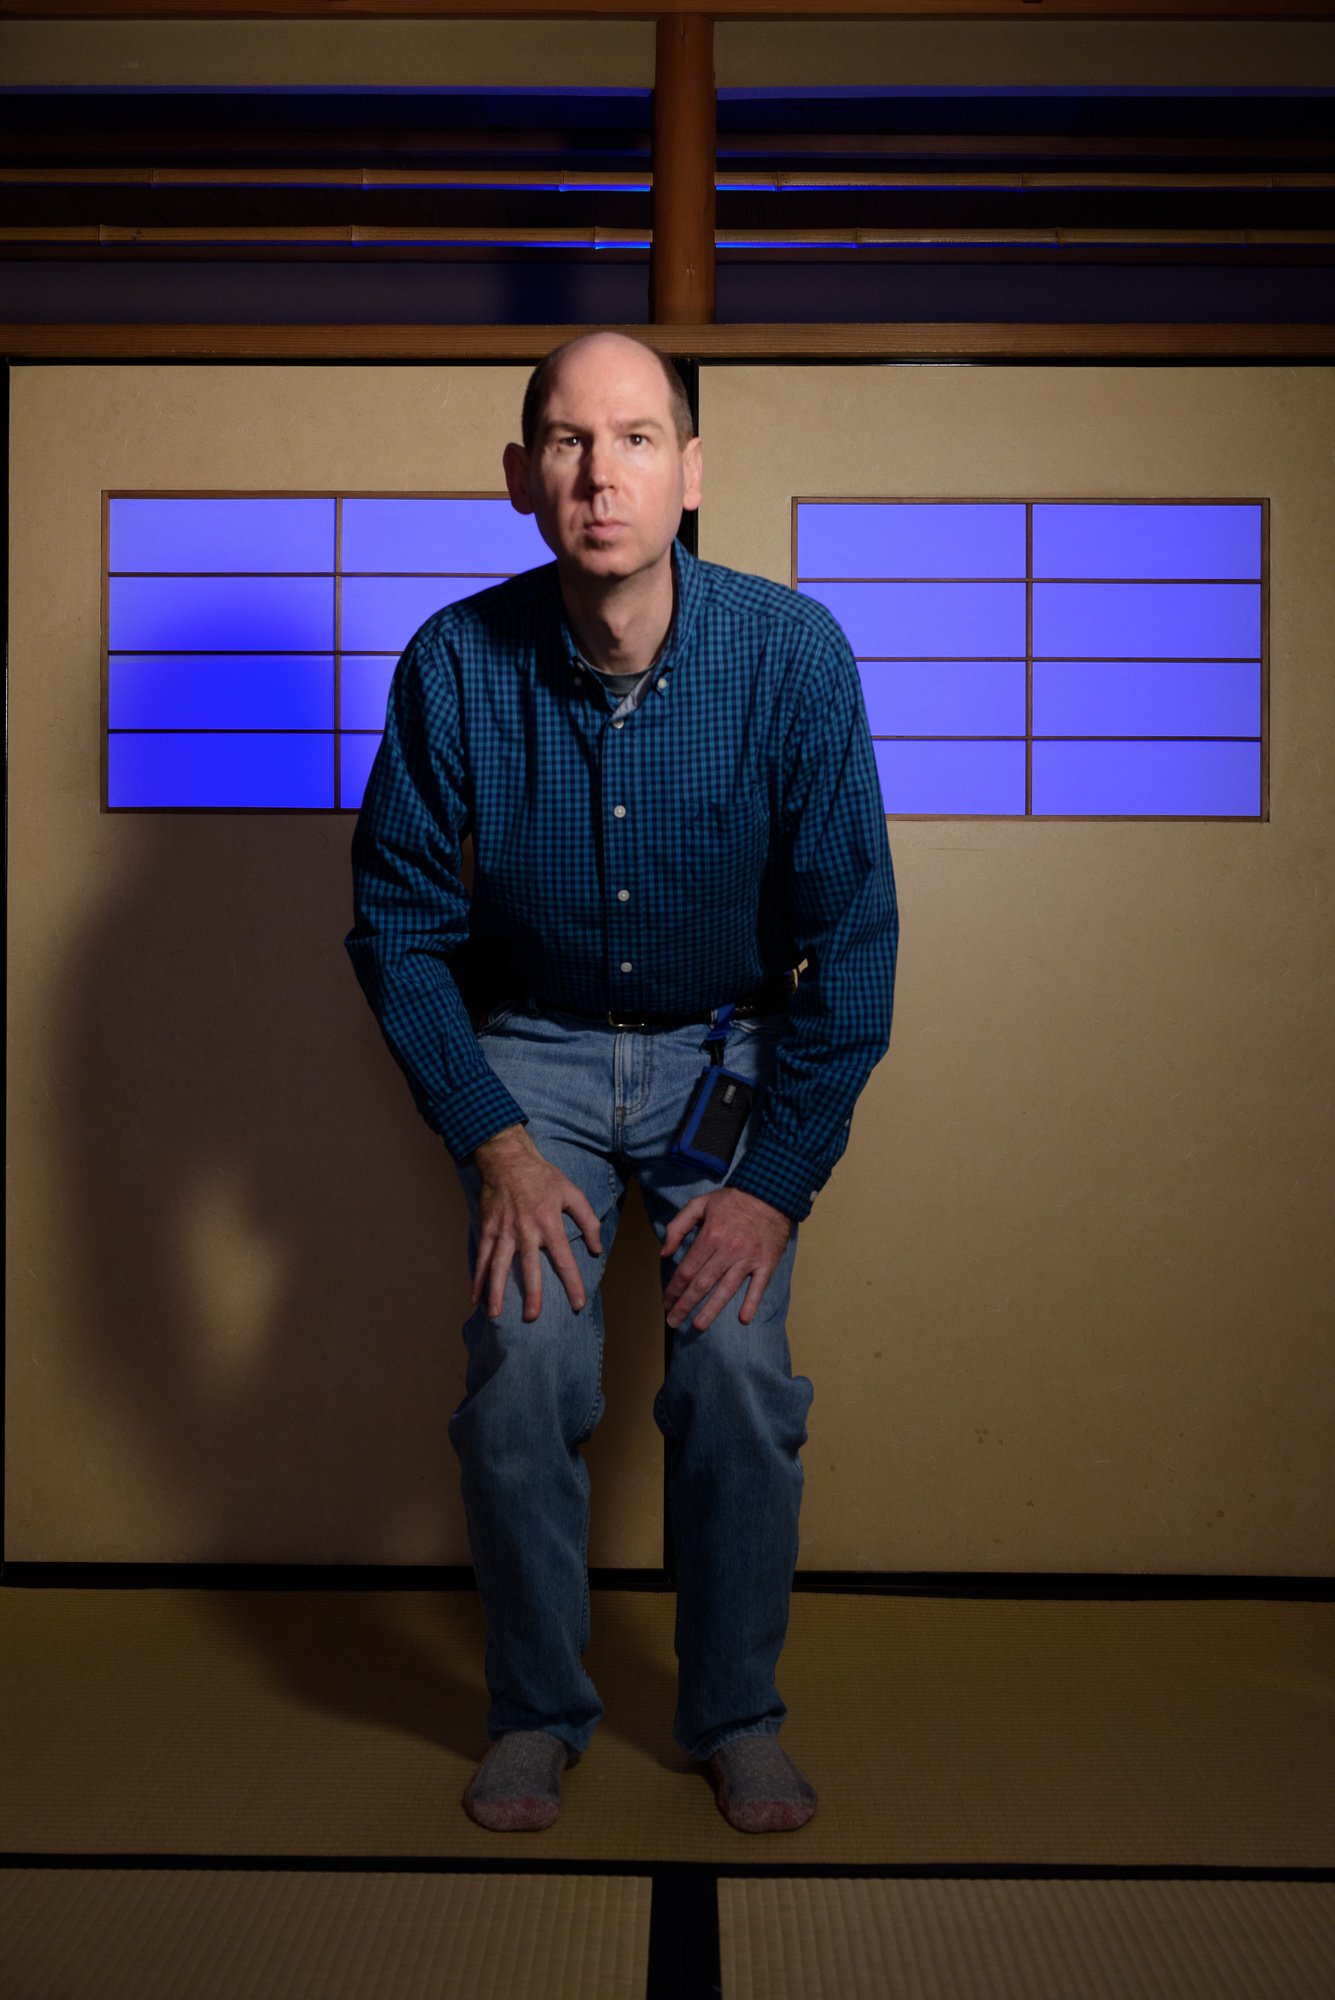
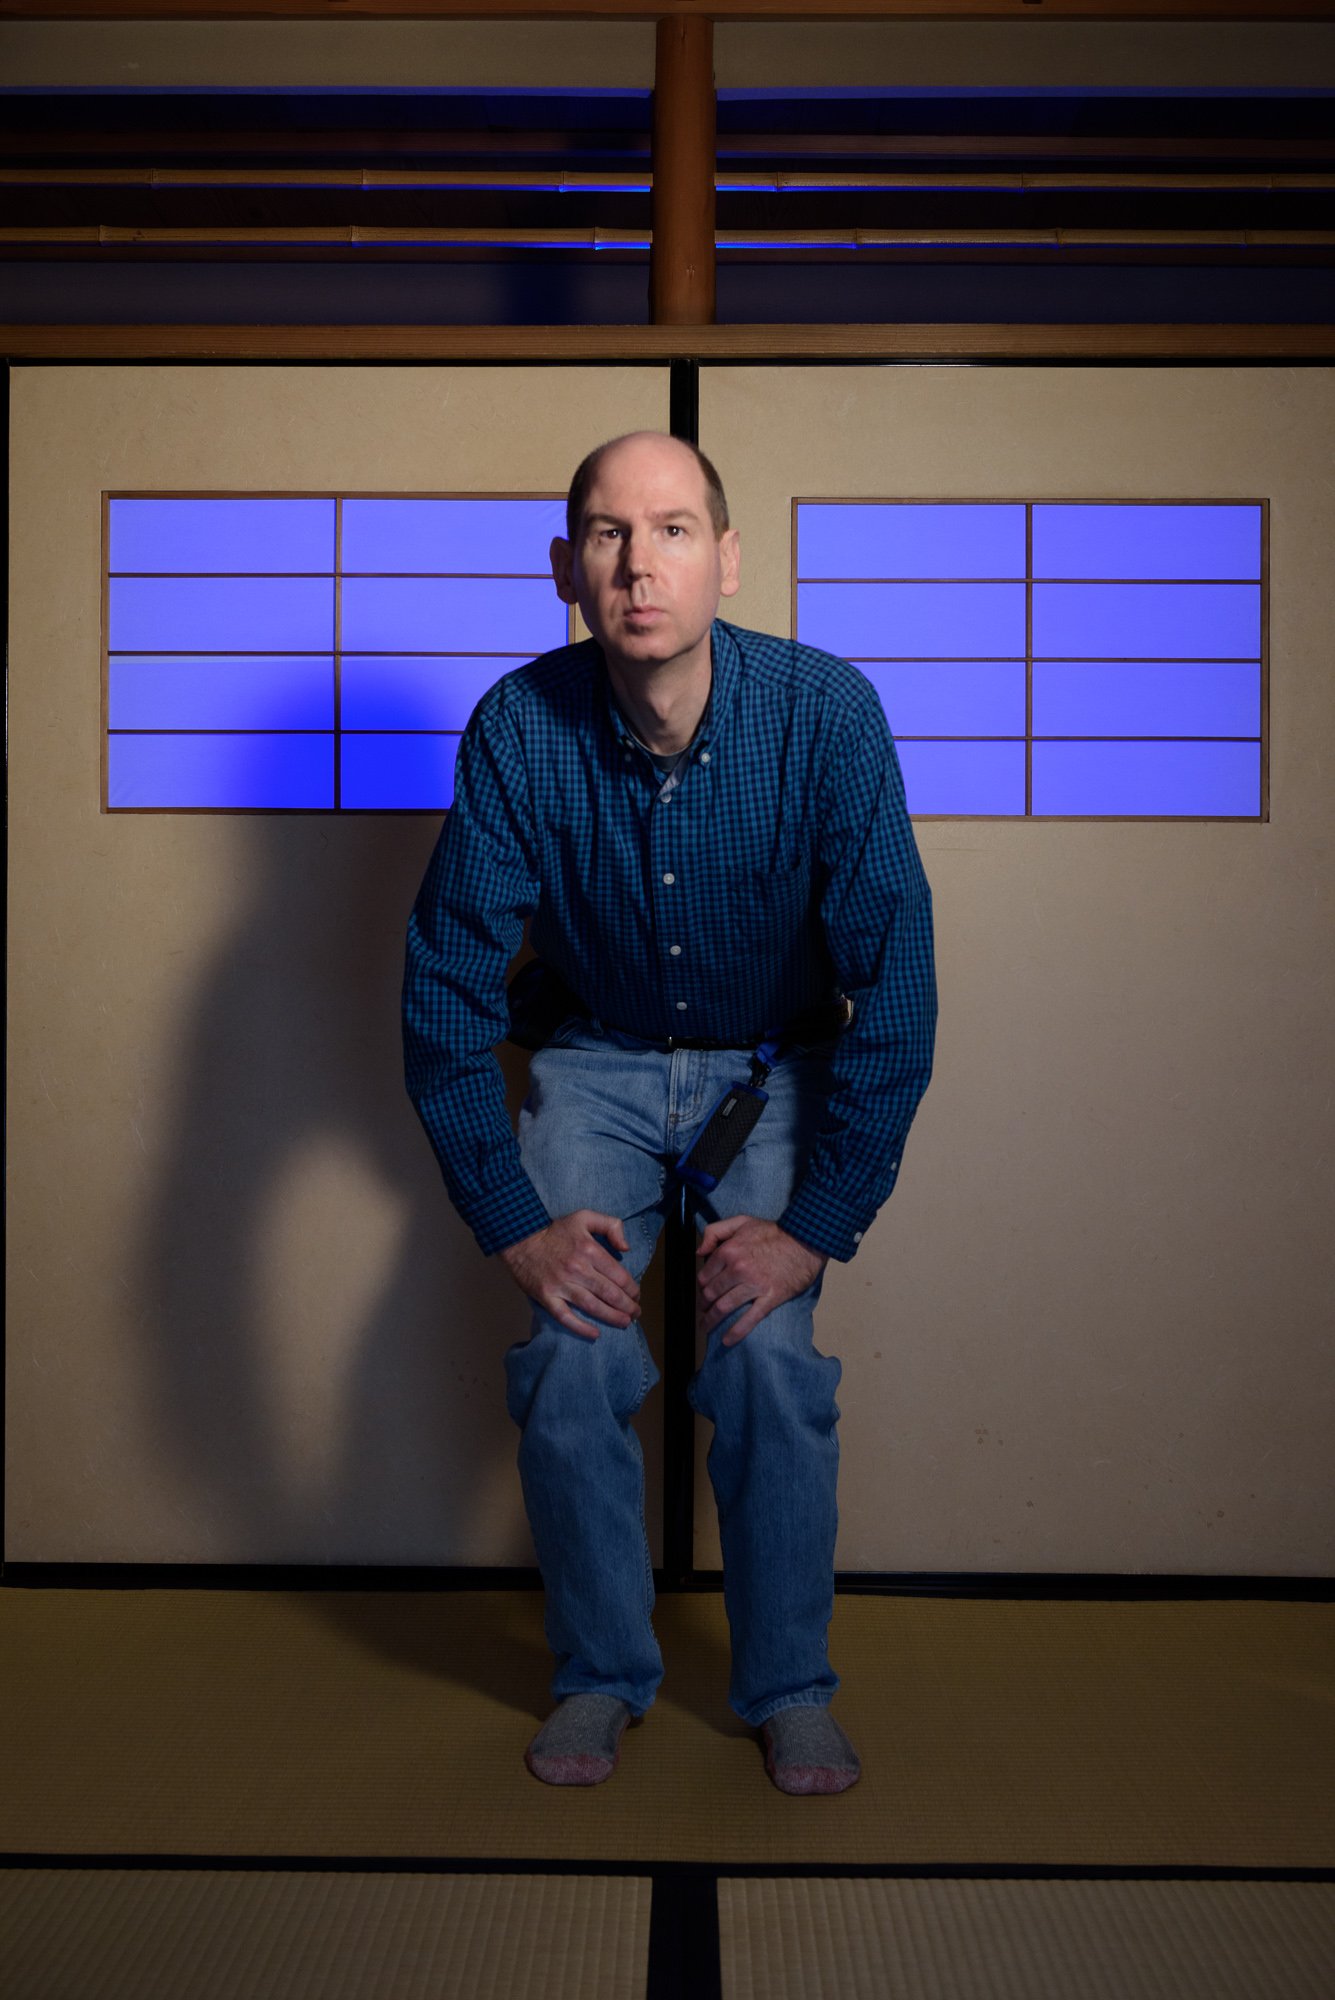
Step 1: The Key Light (LEFT)
I start with the main light (called the key light in film and photography).
In this case, the key light is a Lowel DP, a light used more in independent filmmaking than photography. It’s a continuous tungsten light (which means when you turn it on, it stays on, like a lamp at home. It doesn’t flash like a strobe).
When I place my key light, I always ask myself, “Where are the shadows?” The most important shadow is the one cast by the nose, which makes or breaks a photo.
In this case, the shadow cast by the body on the fusuma (sliding door) is a key part of the image, so I’m also looking at how high and how close it is to my body. I want my head shadow to appear in the window and I want a little separation between my body and the shadow.
When I look at the shadow cast by my nose in the image on the left, it’s very distracting. However, I have a very long nose, and most of the maiko and geiko I photograph do not. If I were photographing myself, I would lower the light some, which would decrease the length of my nose shadow.
I’ll look at this again when I photograph Kohana, but the key light is basically in the right place. I’ll fine-tune it after I place the fill and background lights.
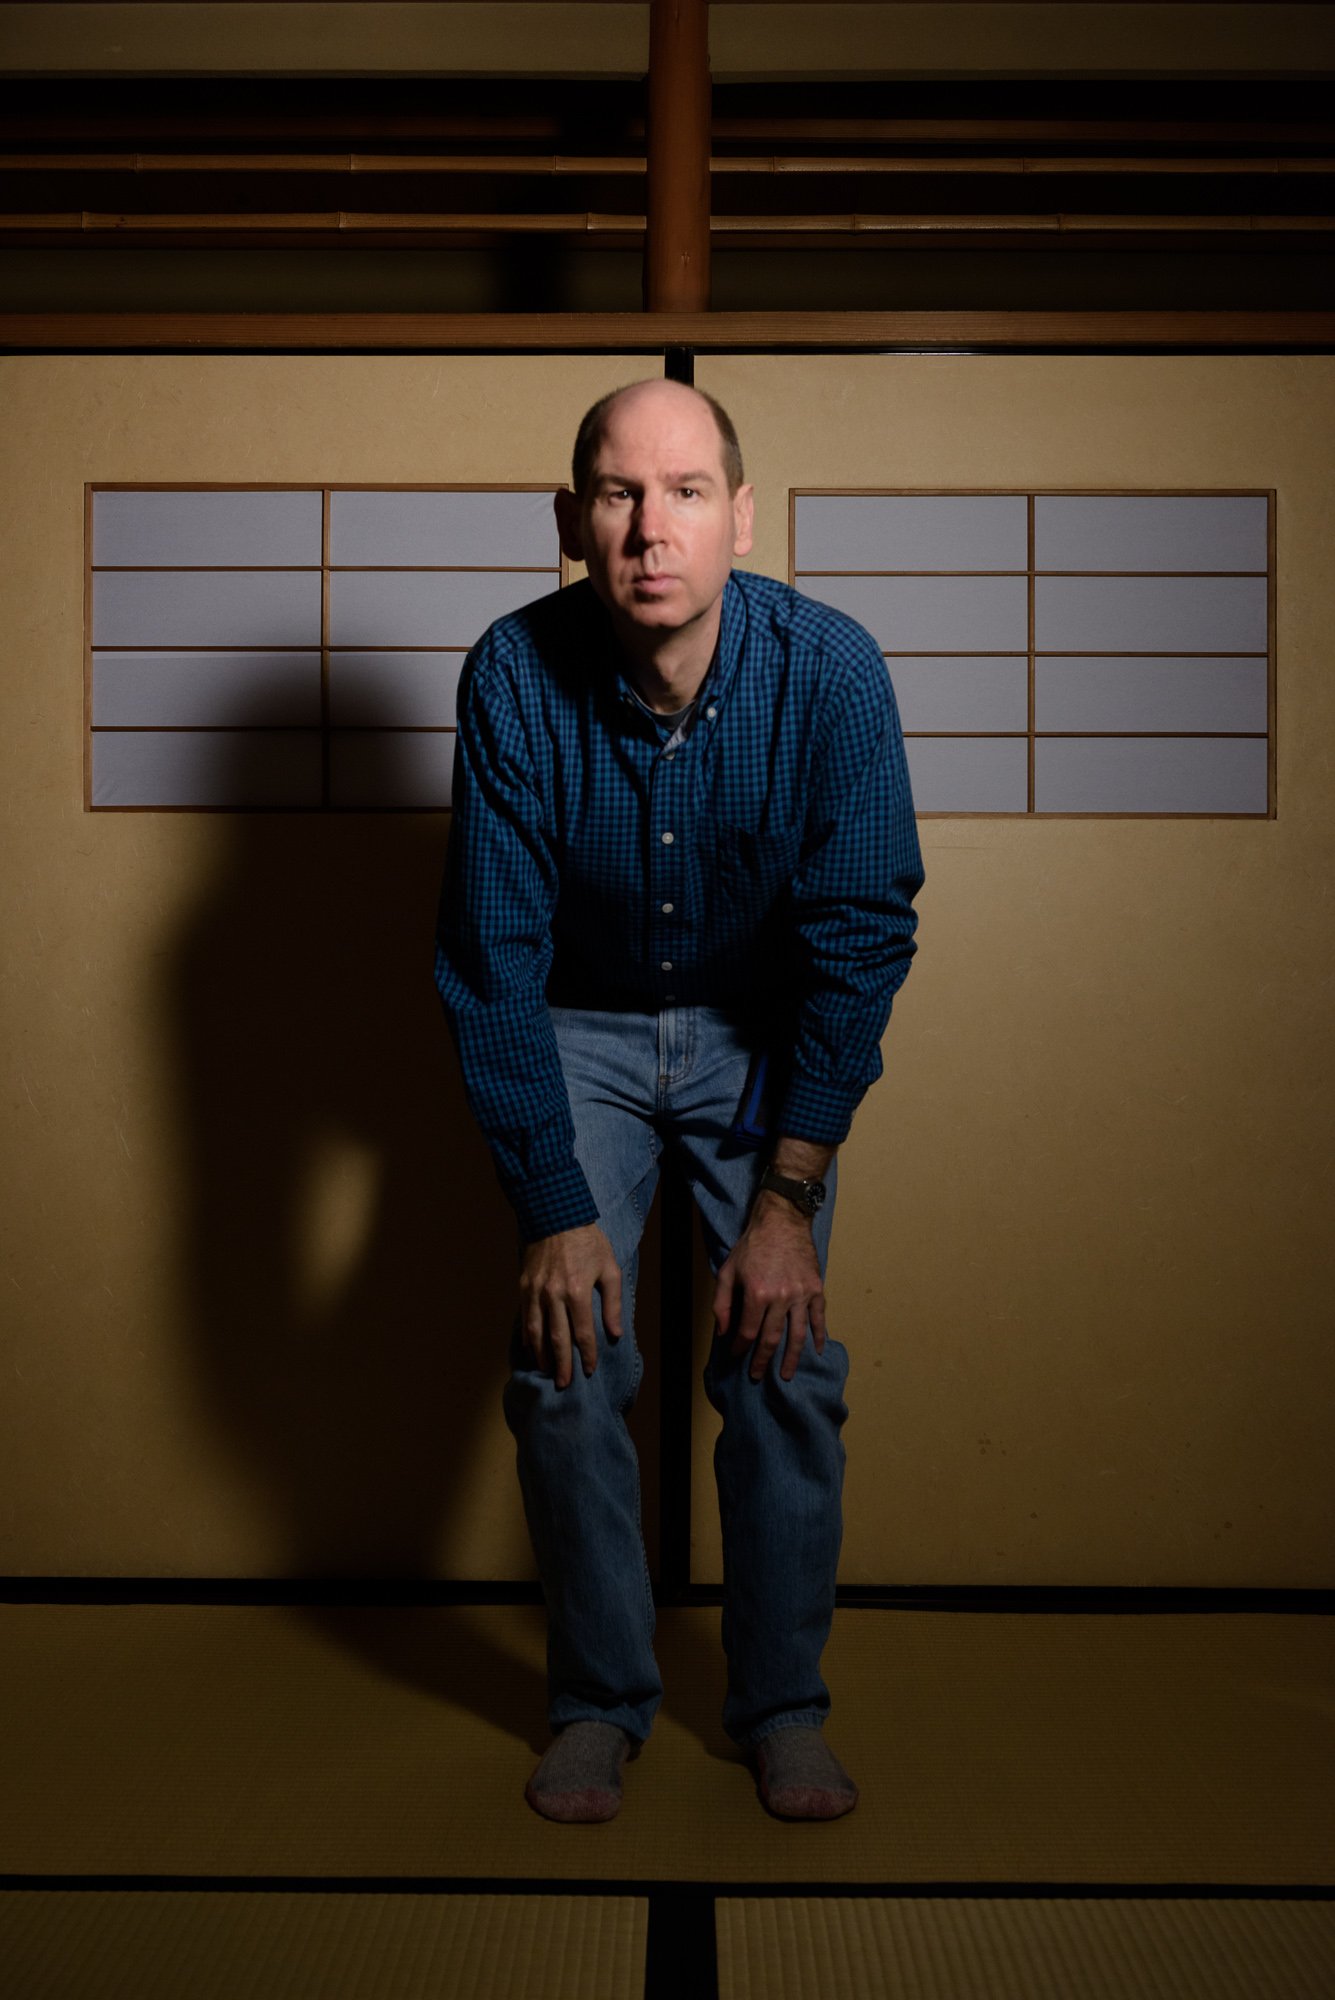
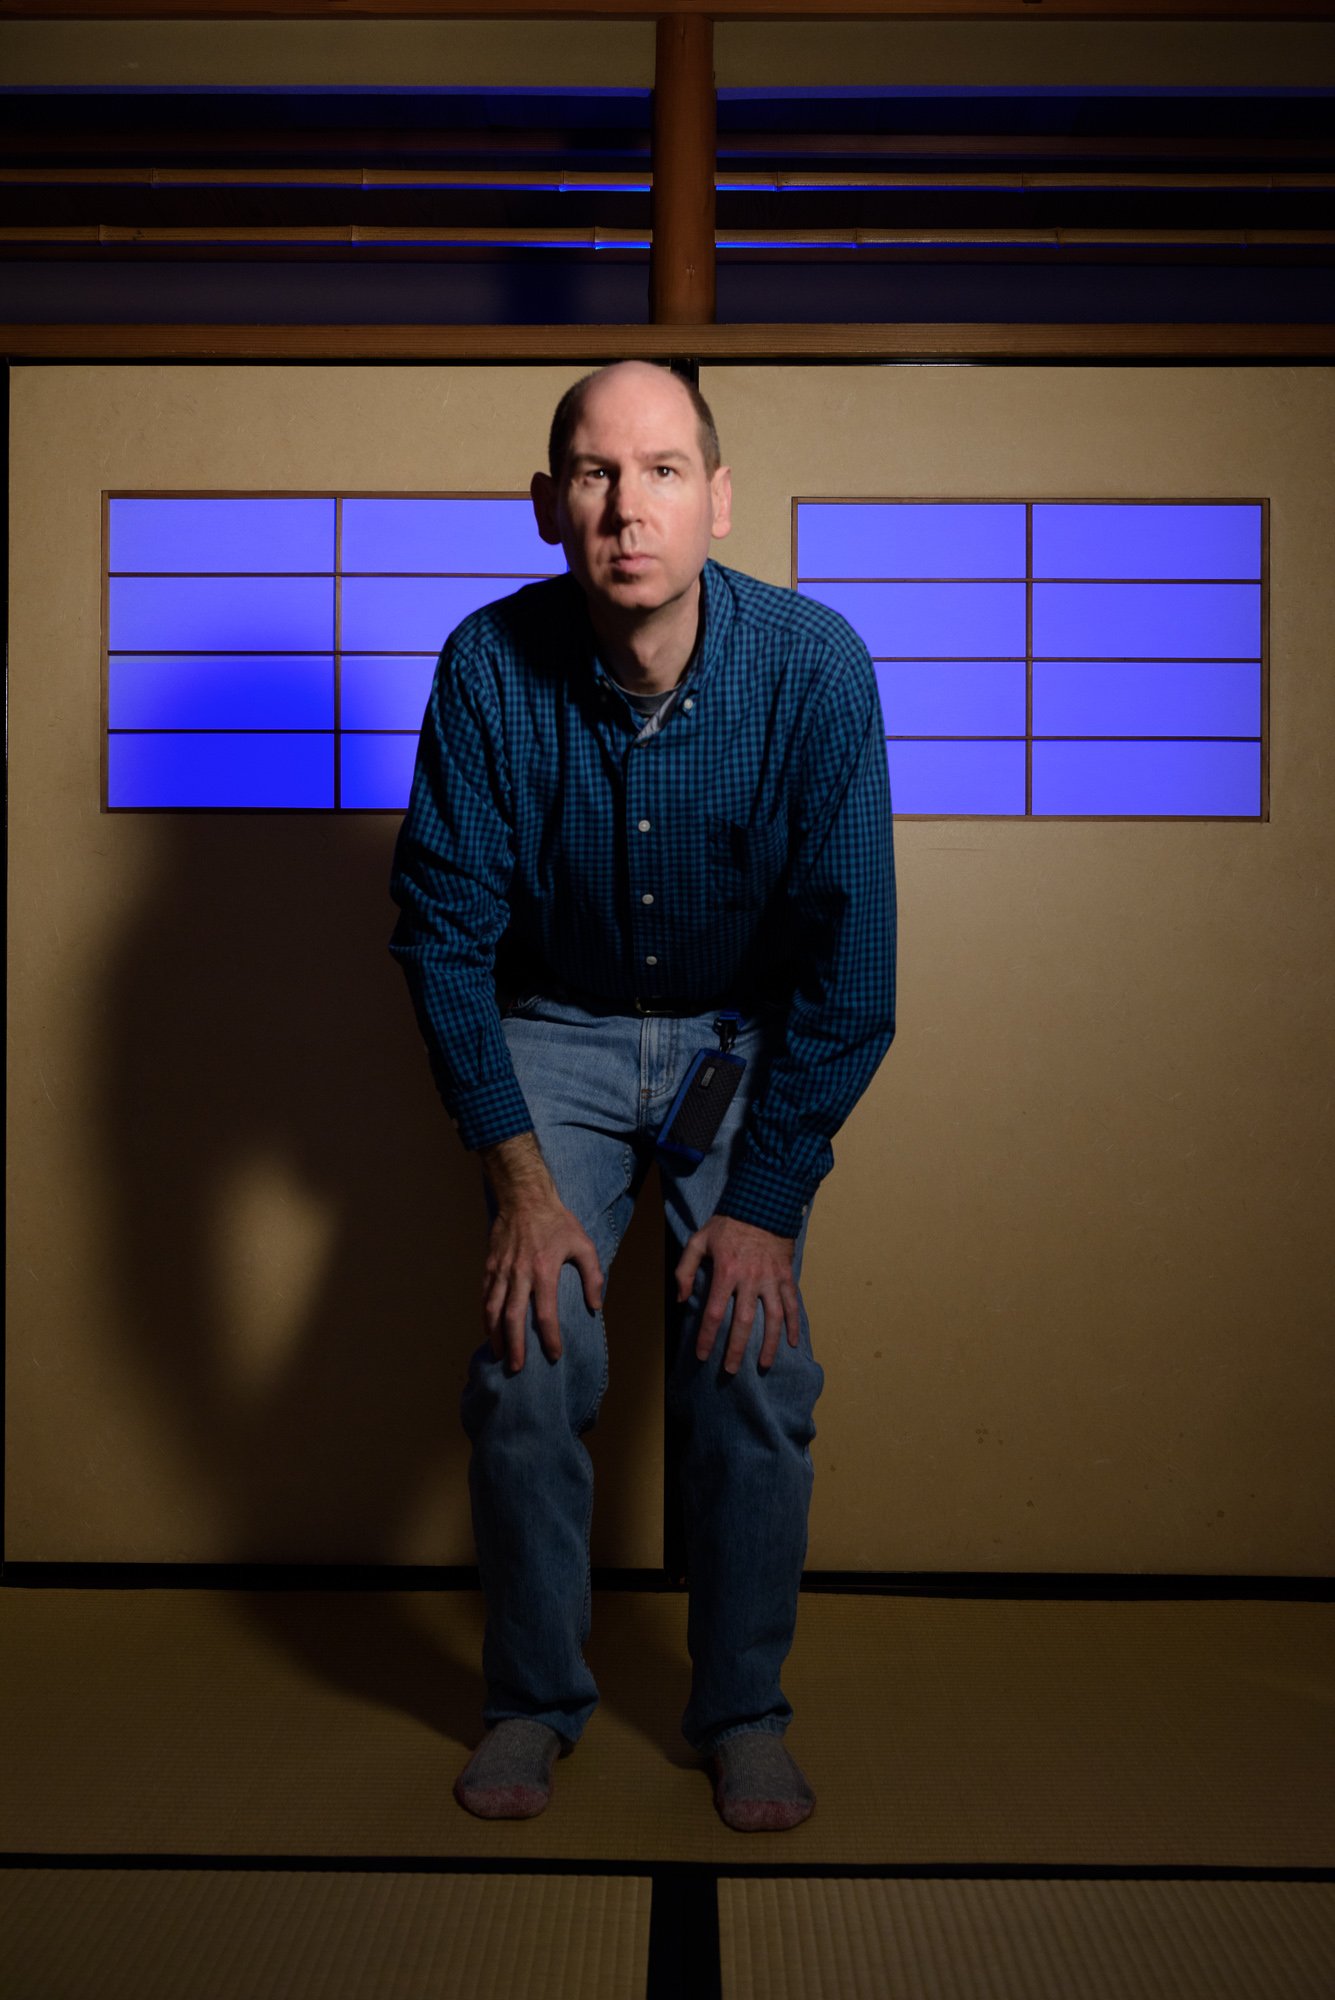
Step 2: The fill Light
If you look at the image of me above right, you’ll notice that the shadows (and the fusuma) are much lighter and bluer.
That’s because I added a fill light right behind the camera. The fill light’s job is to fill in the shadows. In other words, the fill light controls how dark or light the shadows are.
The fill light here is a Nikon SB-910 speedlight, a portable flash, with a blue gel on it. The speedlight is right behind the camera, and it is bouncing into a white umbrella, which softens the light and spreads it out.
The shadows are too bright for me here, which means the fill light is too strong. I have to lower the power, but again, I’ll fine-tune it later. Both my key and fill lights are basically in the right places, and I’ll adjust them more after I’ve added the background lights.
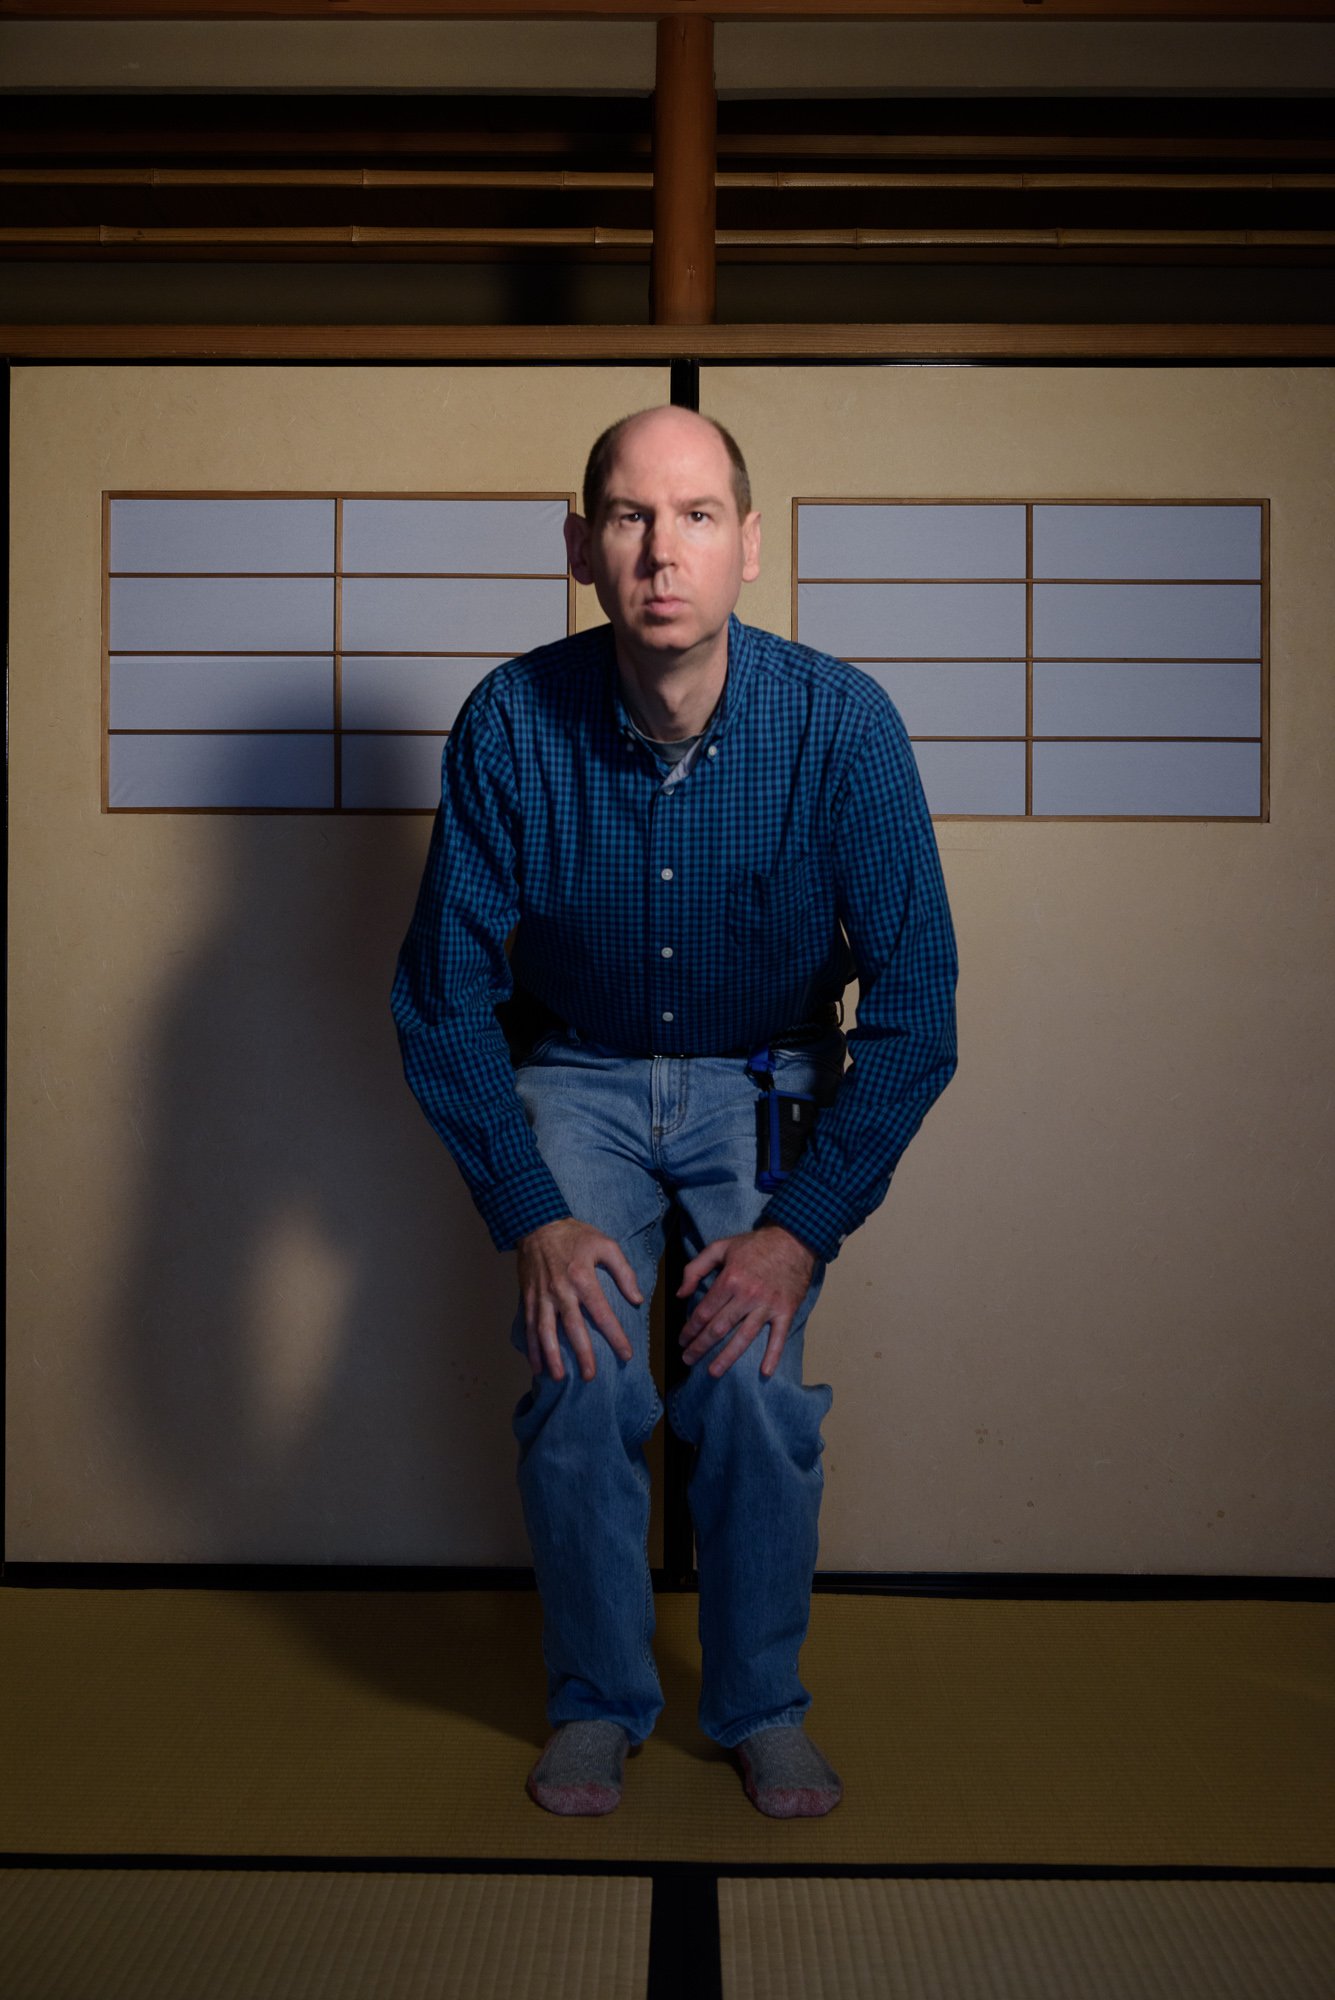
Step 3: The background Lights
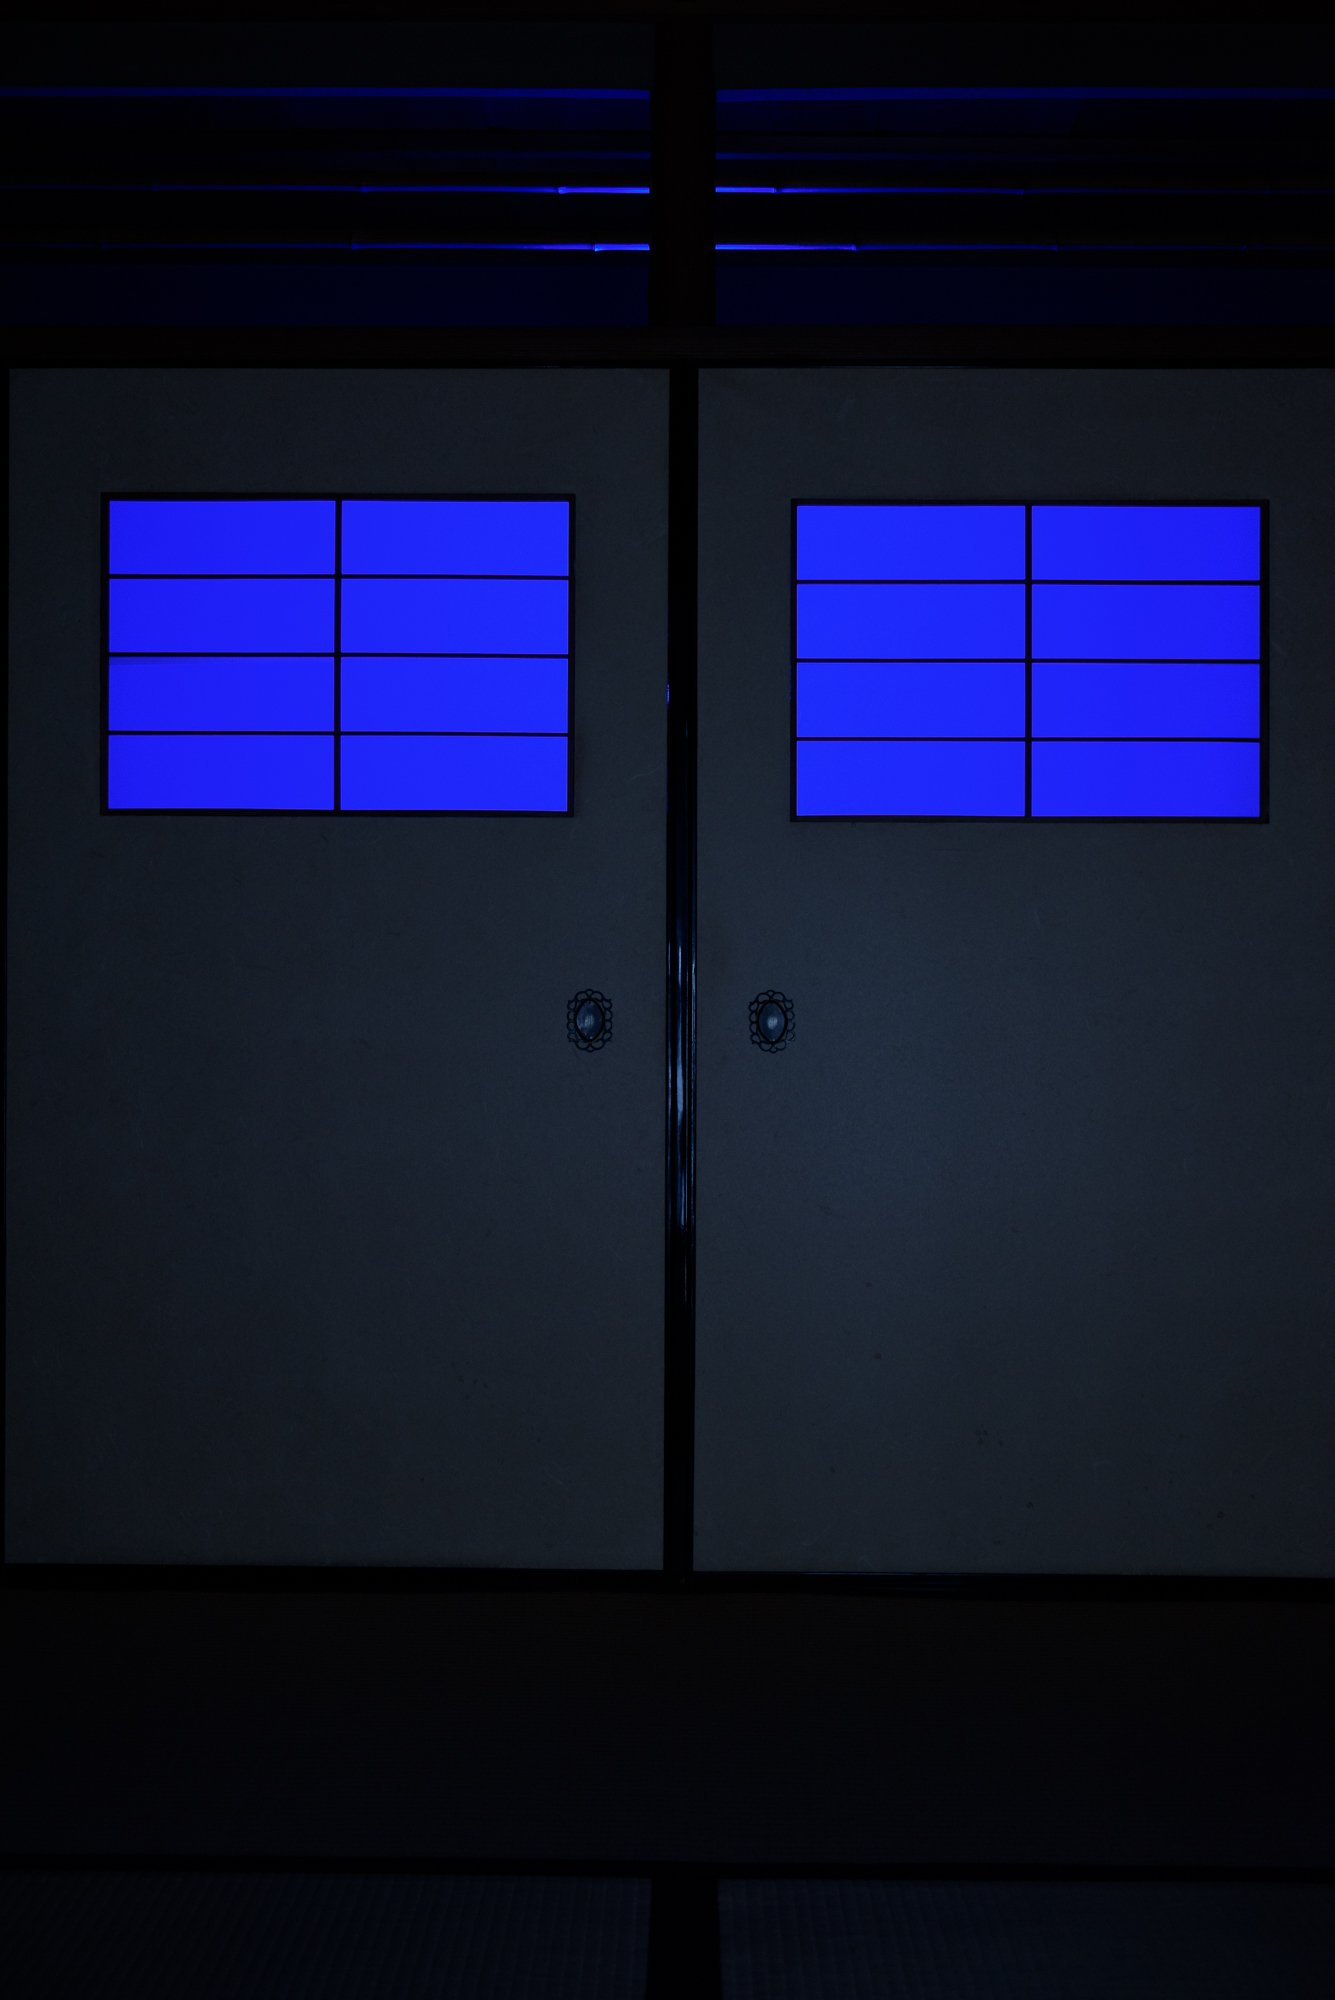
In this lighting set-up, the background lights are the easiest to place. There are two Nikon SB-910 speedlights with blue gels on them outside the room, one behind each window.
Each light has a grid on it, which limits how far the light spreads. I want the lights to look like they’re coming through the windows, and the grids do this.
If I didn’t have a grid on the lights, the edges of the frame would be blue, too. I want the blue light focused in the center, so I put grids on them.
Then I turned off the key light completely and put the fill light on the lowest power for the image on the left. The windows appear a deep blue, which is exactly what I want. You can tell there is a very weak fill light by looking at the faint highlights on the black doorframe. You can barely see them, which is also what I want.
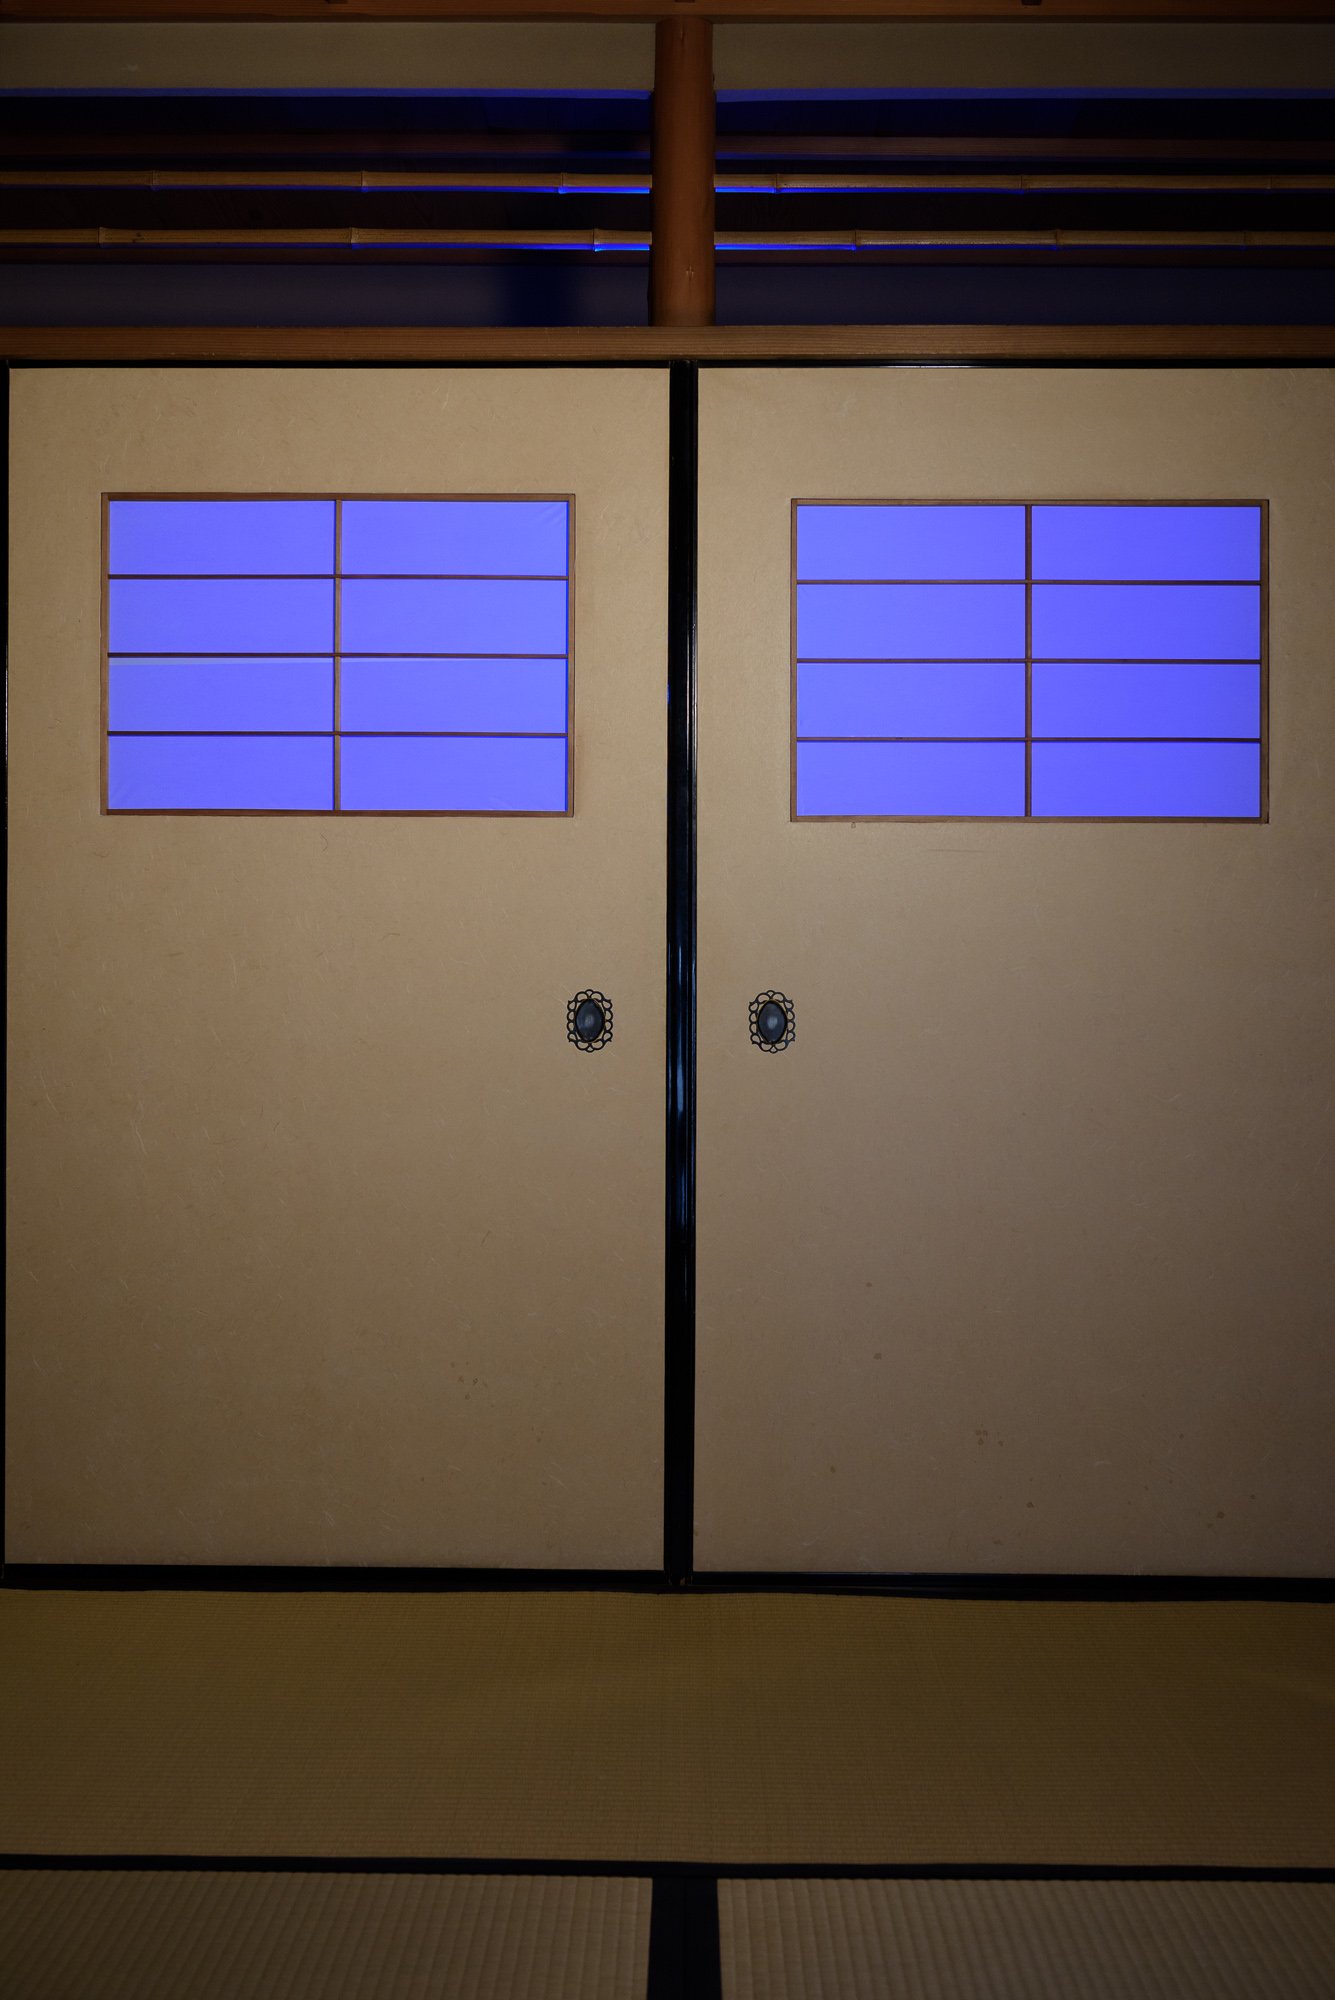
The only difference between the image on the right is that I have turned the key light (the Lowel DP) back on. The windows aren’t as dark a blue as they are on the left, but that’s what happens when you add the key. One light affects all the others, which is why I turn the different lights on and off when I am working with them. I want to see only the effect that light is making.
I know what all four lights are doing separately. Now I need to see how they are working together.

These final three images show my tweaks (small adjustments) to the fill light.
Look at how dark and blue the shadows are in each image. The fill light is too strong in the left image, too weak in the center image, and just right (for my taste) in the image on the right.
There is no magic to this; it is trial and error. Test, test, test! I start with the fill light on a high power and lower it until it is very weak. Then I go back and choose the image that looks best to me.
I like the shadow in the right image because it is a little bit blue, and it is dark, but not too dark. I can always darken a shadow in post-processing, and that is preferable to lightening one.
Ready to go
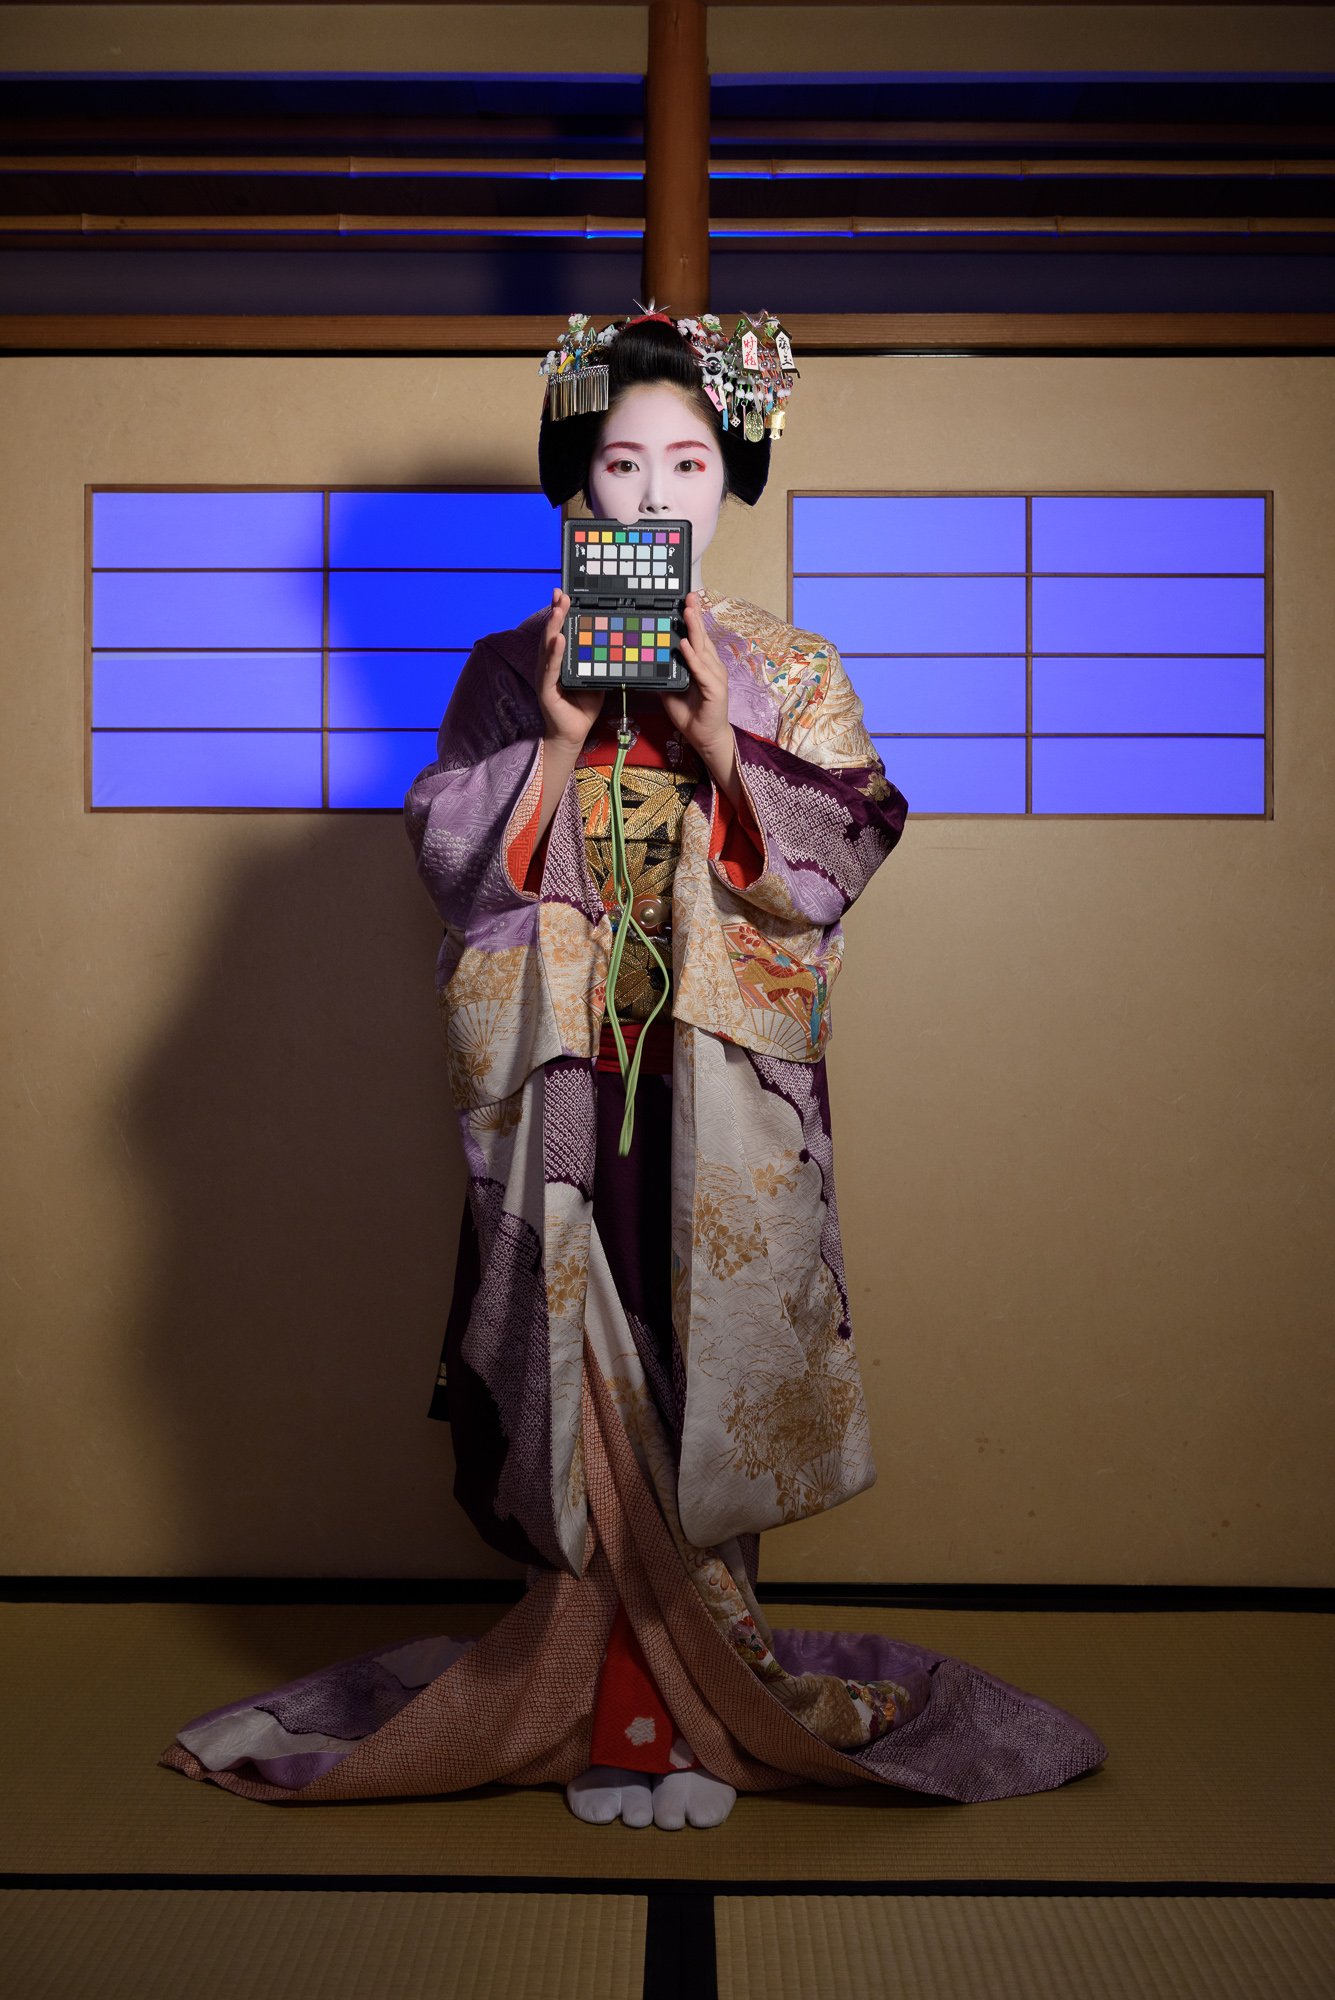
The image on the right above (and left below) is almost the same as the image of Kohana holding the ColorChecker Passport.
The only difference is that I changed the f-stop on my camera from 5.6 to 5.0. This makes the image of Kohana slightly brighter. Otherwise, the key, fill, and background lights are the same.
This might sound complicated, but if you go step-by-step and light-by-light, it’s not.
Finally, if you’ve been wondering why I’m squatting down in all the photos, it’s because I’m trying to approximate the height of a maiko. They are all much shorter than me.
The final adjustments I make are always to ensure that my lights are at the right height for that particular maiko.
I hope this is all clear. If not, please ask a question in the comments and I’ll do my best to answer them. And Happy New Year 2024!